My son loves science, he is always looking for new fun ways to learn something new. We have done volcano eruptions using kits bought at the store, but I wanted to try doing science activities using stuff we have around the house.
I told him to grab his legos, and build me a volcano that we can erupt. If you have never made a volcano with your kids this is a great idea for a at home STEM activity.

What you need:
- LEGO bricks – rectangular and square ones are best, we used weird shaped ones at top
- LEGO baseplate (but honestly first one we made we didn’t have a large one it was a combination of single pieces together)
- Plastic cup
- Baking soda
- Vinegar
- Dish soap
- Measuring cup and spoons
- Cookie sheet or something to catch the mess
- test tube or small jar (this will go in middle of volcano)
- Food coloring (red, yellow or orange)
- OPTIONAL: Get Printable directions and a Free printable lego game
1.
Set Up
Gather all the supplies and lay the cookie sheet on table and put your lego baseplate in the middle. If you are using a narrow tall jar put in middle of baseplate, or if your using a test tube determine how much room you need in middle and start building around area.
2.
Build Volcano
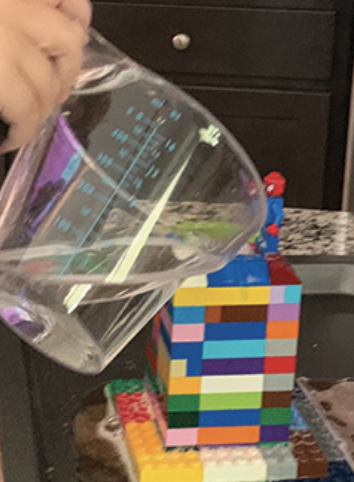
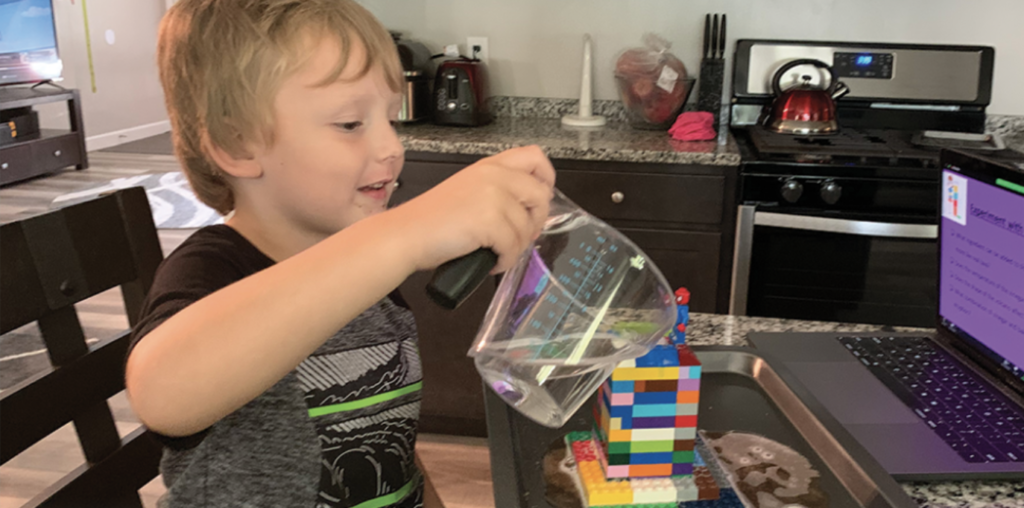
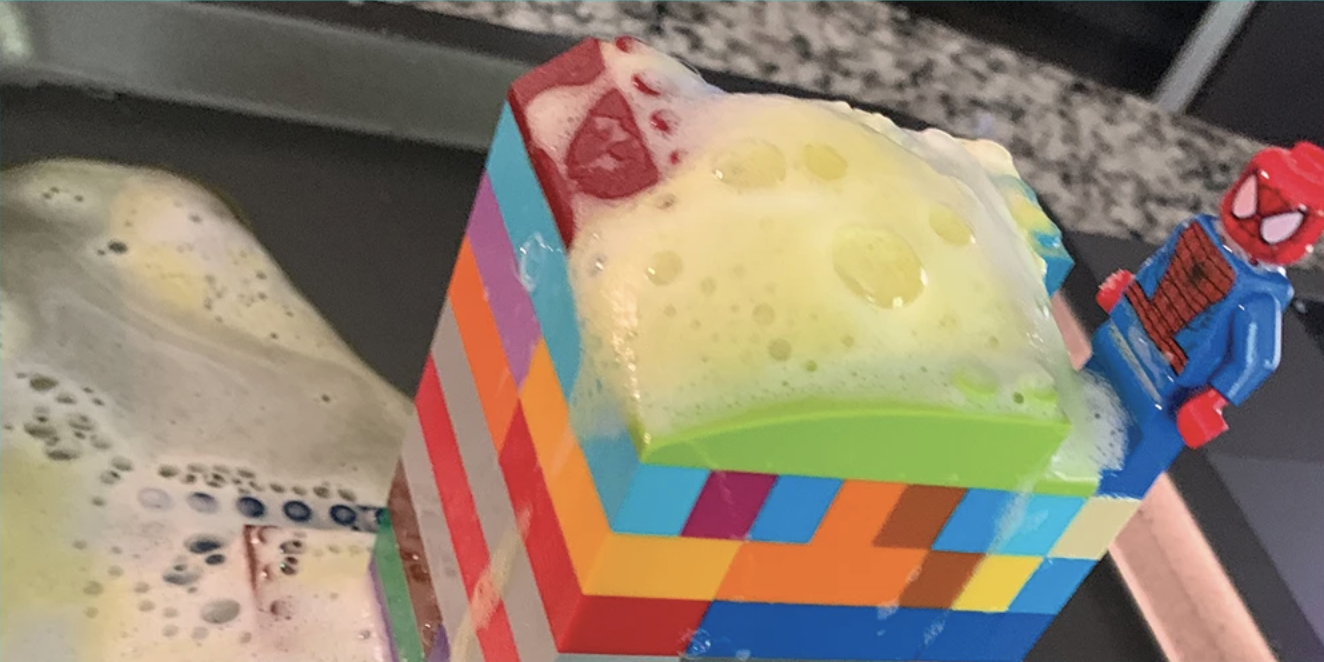
Using the legos built a volcano on the cookie sheet and lego baseplate. My son built the volcano, and put the test tube inside. Build it up so same height as cup or tube you use inside of it. Let your kids get as creative as they want. My son wanted to put Spiderman on top to protect the volcano.
3.
Create Base
Now that the lego volcano is built now we can add the baking soda, dish soap and food coloring into cup or test tube. The dish soap will slow down the eruption. Pour about 4 tablespoons of baking soda or if test tube you may only need to do 2, 1 tablespoon of dish soap, and 5 drops of food coloring.
4.
Erupt the Volcano
Now it’s time to watch the eruption happen. When your child is ready have them pour the vinegar into the cup or test tube and watch the volcano erupt! If your child is like mine he wanted to do over and over. So we did 2 or 3 times following step 3 and 4, until our cookie sheet got to full, then we rinsed off and did it again. Experimenting with different amounts of each ingredient to see what type of different results he would get.

First question my son had after we were done, Why does this happen with baking soda and vinegar?

When your child asks, share this and sound really smart to your kids. But in all seriousness it is important to understand the science.
The science behind it
They react because one is a base while the other is an acid. Acids and bases each have different parts of H2O, or water. Bases contain an OH, or an oxygen and hydrogen atom, which together is known as hydronium. Acids contain the other H, one hydrogen. These really like to join and form water, so they break away from the acid and base to react.When they react to release the OH and H to become water, they also release carbon dioxide. This makes the reaction bubble and expand, just like when you shake up a can of soda and open it!
At Home Science Activity Printable

This booklet will have activities that are hands on to keep kids engaged while learning how to be a scientist at home.


